
Rainbow Bridge v2: Arbitrum to XAI Guide
You can now bridge your UNIM from Polygon to XAI on the Rainbow Bridge! Learn how to bridge UNIM via the Rainbow Bridge and $CU from Arbitrum to XAI on this guide.
The unicorns’ little hooves are only a few gallops away from reaching XAI! Just in time, the Rainbow Bridge has now been updated with functionality to migrate $UNIM directly from Polygon to XAI. We’ll also walk you through how to migrate your $CU from Arbitrum to XAI (in $wCU form) for in-game usage.
Here are some quick notes to keep in mind before we start:
You’ll need some $MATIC to bridge your $UNIM from Polygon to XAI.
After bridging, you’ll need a little $XAI to stash your $UNIM and $wCU from XAI to in-game.
You can bridge your $UNIM tokens to a different wallet address with the Custom Recipient button.
This transaction cannot be reverted. Once your $UNIM has been migrated to XAI, it cannot be bridged back to Polygon!
Preparing Your Wallet (for MetaMask)
Add XAI Network
Click on your Metamask extension icon and click the network button on the upper left part of the Metamask popup. Then, click the “Add network” button and you’ll be redirected to the “Add network settings”, click on the “Add a network manually” button and add the following details:
Network name: Xai
New RPC URL: https://xai-chain.net/rpc
Chain ID: 660279
Currency symbol: XAI
Block explorer URL: https://explorer.xai-chain.net/
Import Tokens on XAI
On your Metamask under the “Tokens” tab, click “Import Tokens” and UNIM, wCU, and XAI tokens. Paste the contract address and add the Token symbol and click “Next,” one at a time. You may find the contract addresses below:
UNIM on XAI:
0x64060aB139Feaae7f06Ca4E63189D86aDEb51691
wCU on XAI:
0x89C49A3fA372920aC23ce757A029e6936c0b8e02
XAI on XAI:
0x4Cb9a7AE498CEDcBb5EAe9f25736aE7d428C9D66
Lastly, click “Import” and the token should be successfully imported into your wallet.
How to Bridge UNIM from Polygon to XAI?
Note: You will need an amount of $MATIC and $XAI for gas fees when bridging $UNIM to XAI.
To start bridging $UNIM, head over to https://www.cryptounicorns.fun/bridge and connect your wallet.
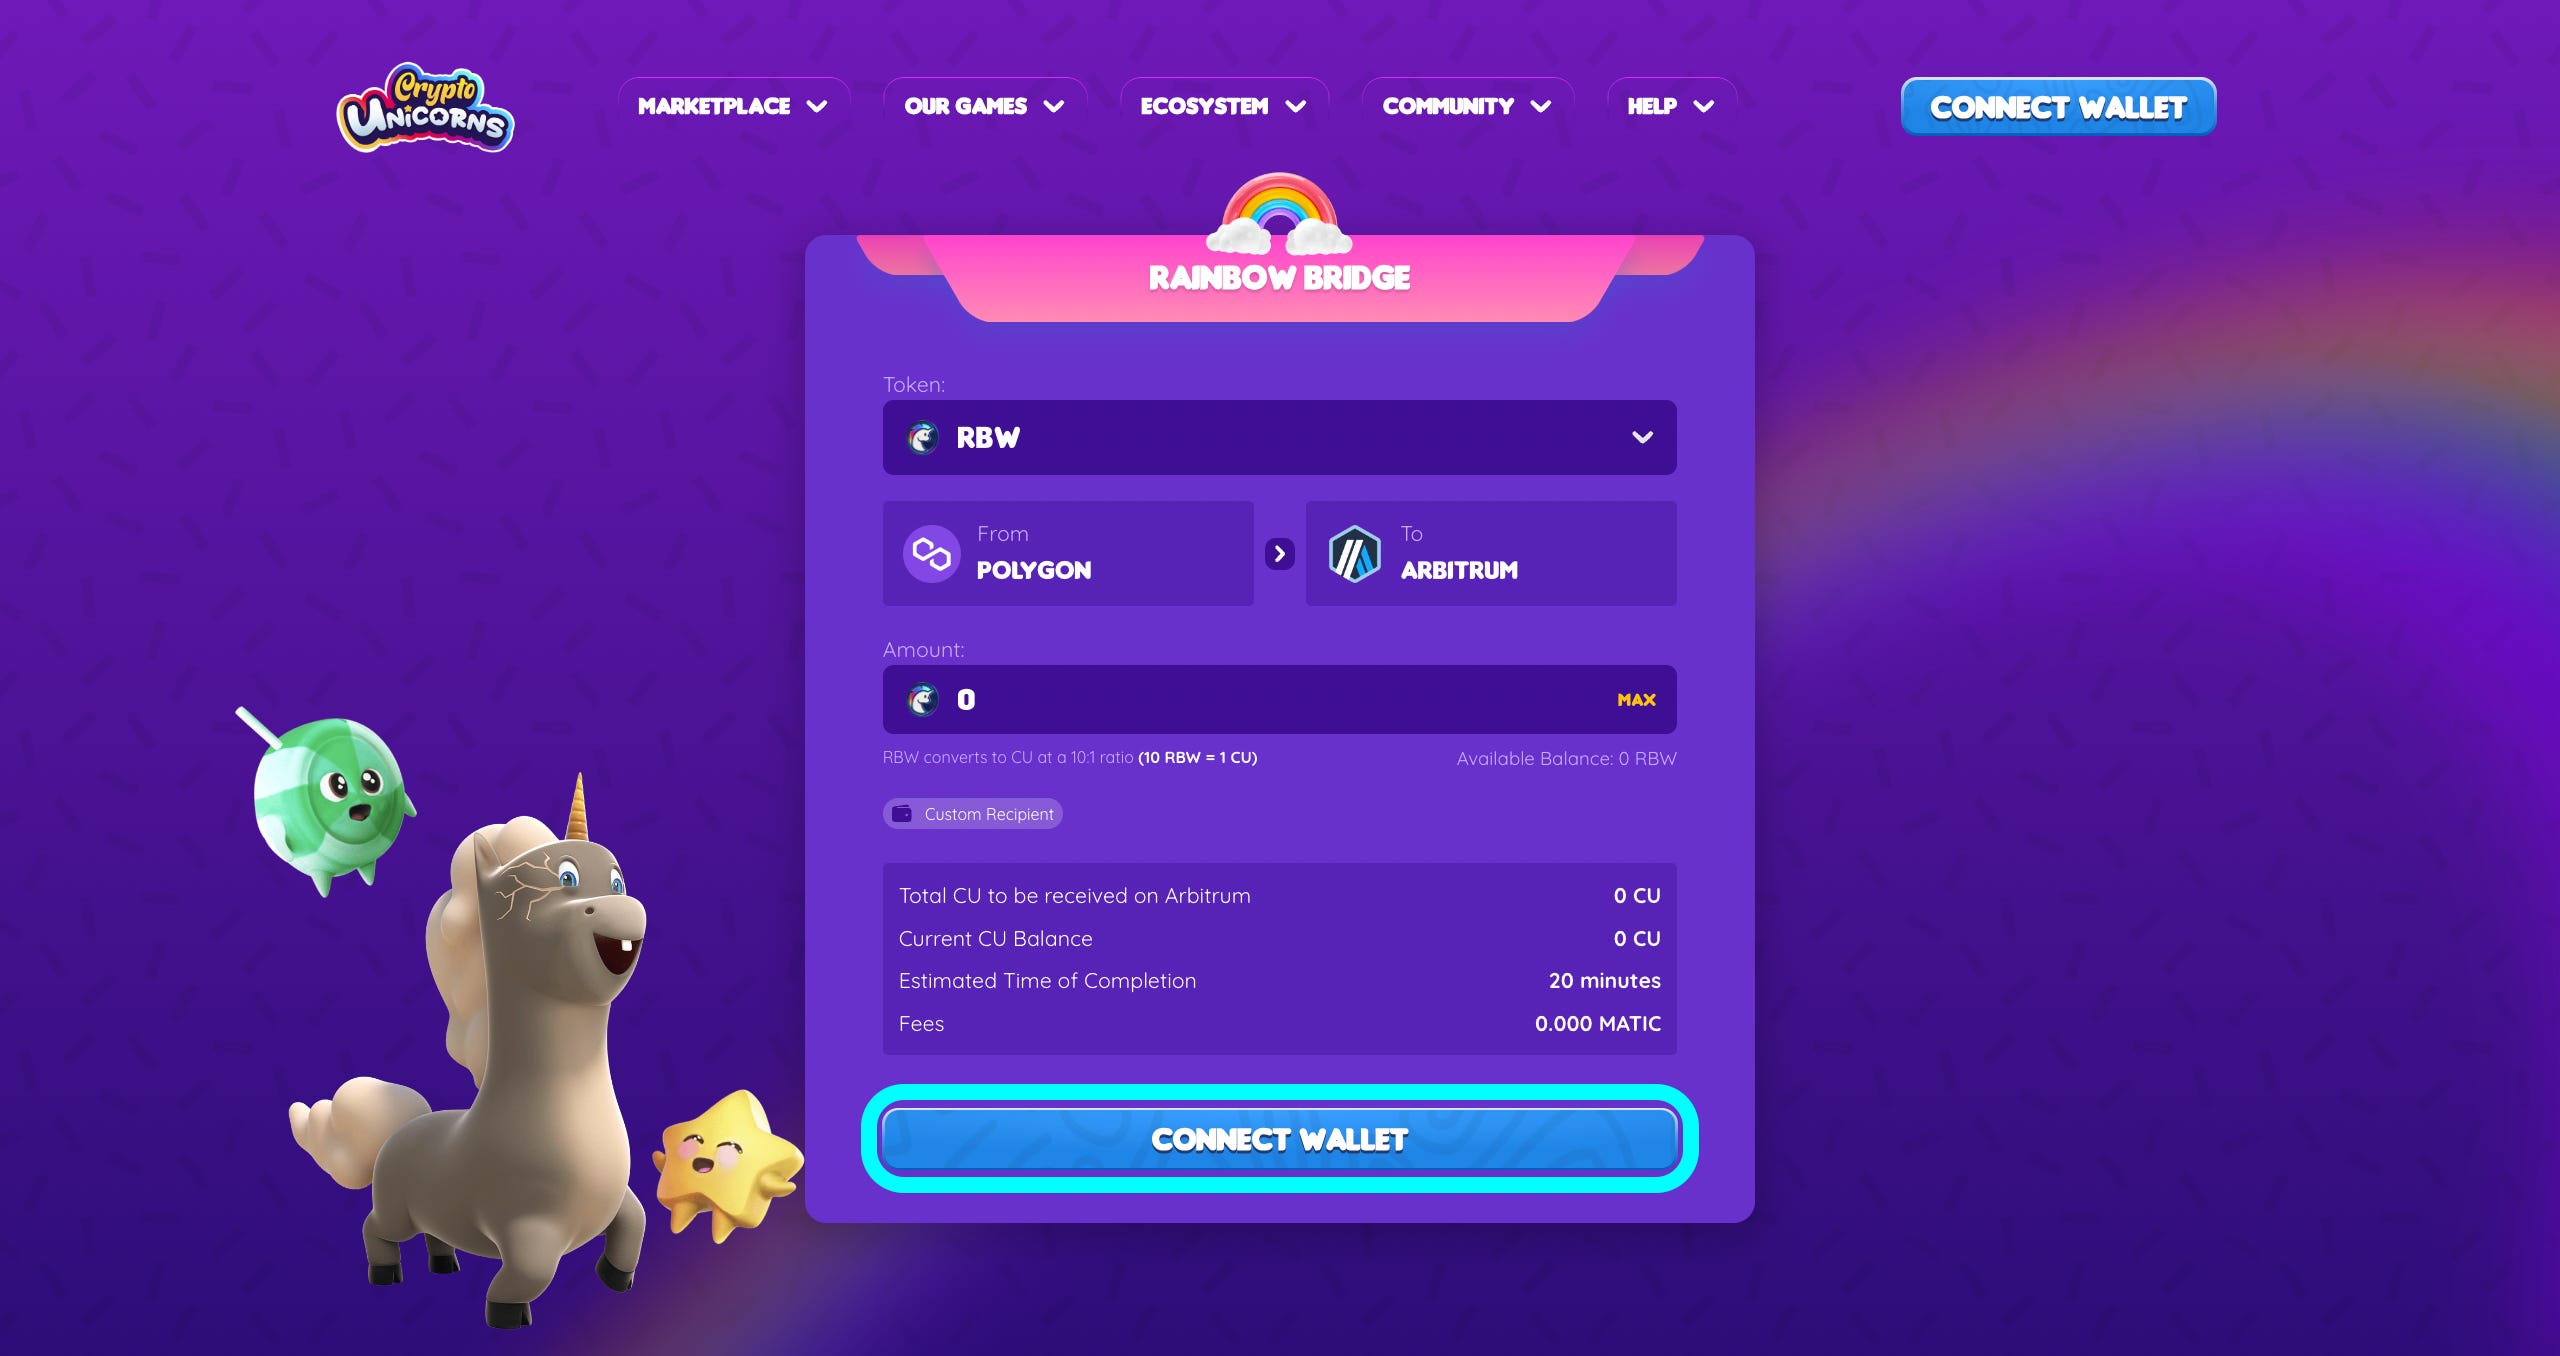
Below the Token option, select the dropdown and pick $UNIM.

Enter the amount you wish to bridge.

If bridging $UNIM tokens to a different wallet address, click on the Custom Recipient button and enter the wallet address you wish for the $UNIM to be sent.


Once you’re finished setting up the details, click “Send”.

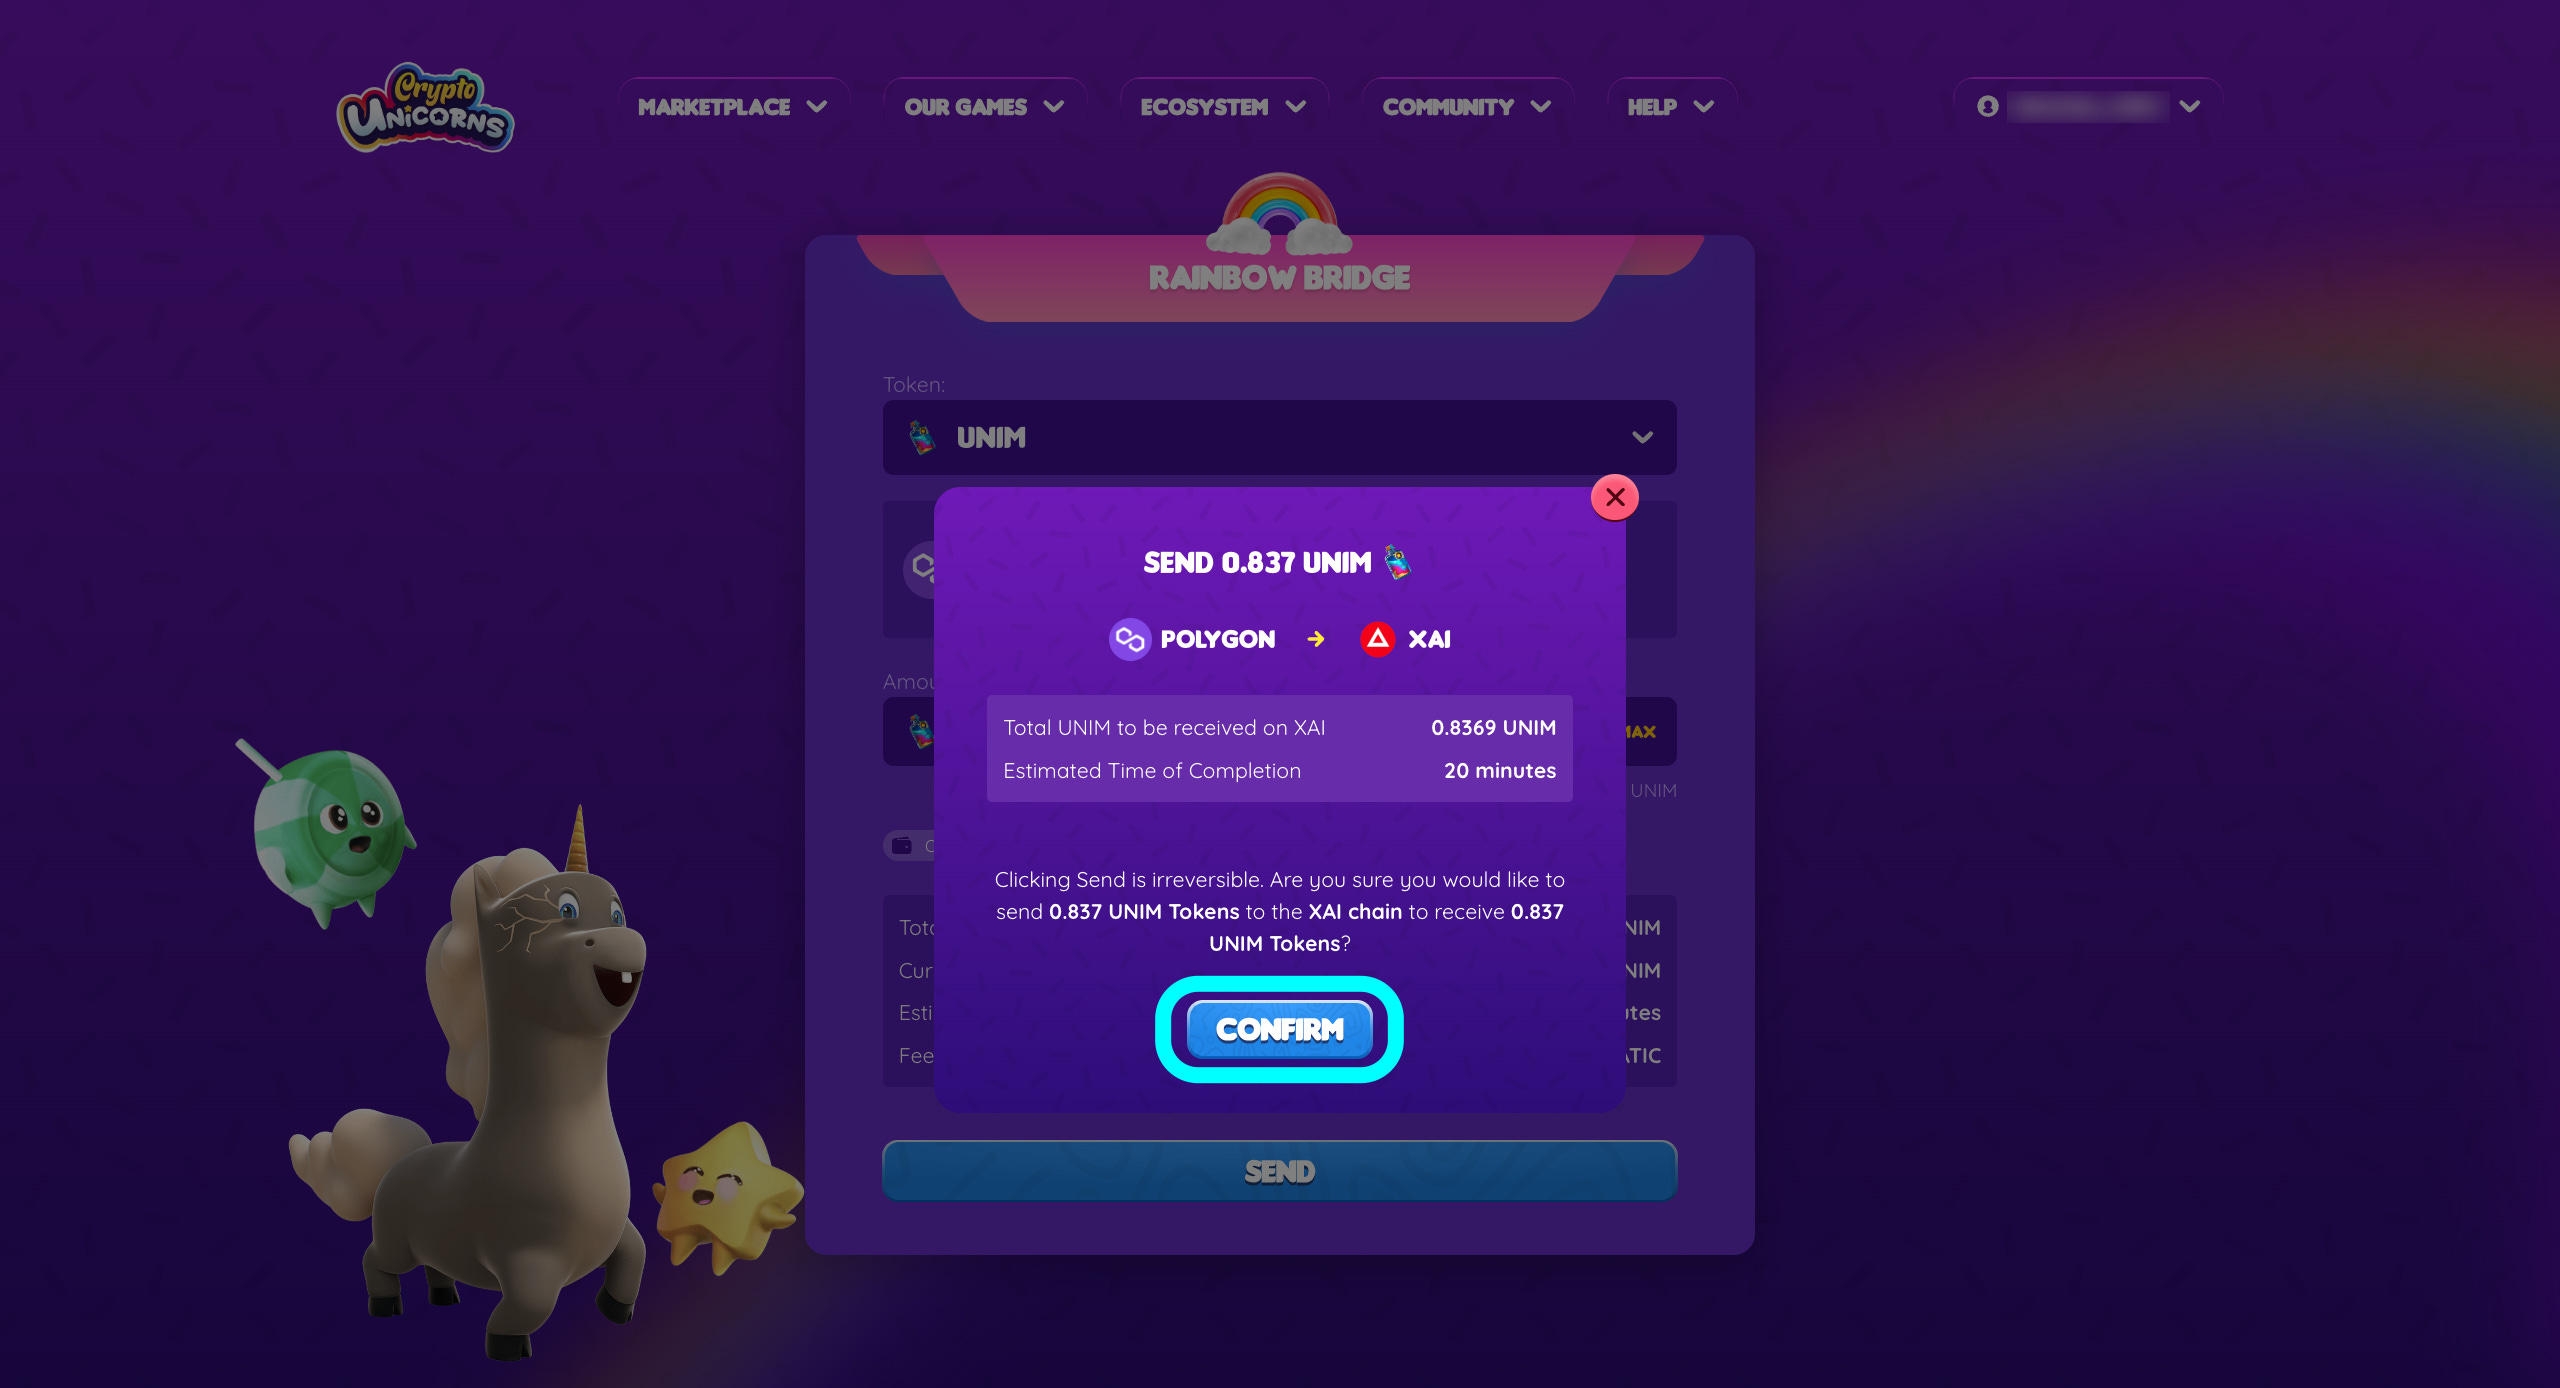
A pop-up confirming the bridging will pop up. Click “Confirm” once you’re sure of the details you’ve inputted. Keep in mind that sending is irreversible. Approve the transaction confirmation that will pop up after clicking “Confirm”.
The pop-up will update once the transaction is successfully confirmed. You may view the bridge transaction by clicking “View Transaction”. You will be redirected to your bridge’s transaction details at LayerZero Scan.

After bridging is complete, switch your wallet to XAI network. You should be able to see the bridged UNIM balance in your wallet.
How to Bridge $CU from Arbitrum to XAI?
Note: You will need an amount of $ETH and $XAI for gas fees when bridging $CU to XAI.
Now that you’ve successfully bridged $RBW from Polygon into $CU to Arbitrum, you can now start bridging your $CU in Arbitrum to XAI. First, switch your network to Arbitrum One then head over to Arbitrum to XAI bridge website.
Next, click the Token dropdown. On the search bar, and pick CU. If CU is not in the dropdown, you may paste CU Contract Address (0x89C49A3fA372920aC23ce757A029e6936c0b8e02) and click “Add”. Select the CU token in the list of tokens.

You can now enter the amount of $CU to bridge on XAI, once confirmed you can hit the “Move funds to Xai” button.

A blockchain transaction will pop up. Confirm to proceed with bridging. Wait until the transaction has been successfully completed, and when it completes it will move to the “Settled transactions” tab. Finally, change your MetaMask Wallet network to XAI and your $wCU should now be visible.
How to Move $wCU from XAI to Arbitrum?
Note: There is a 7-day lock-up period for funds bridged to Arbitrum One from Xai to be made available to be collected.
To move $wCU in XAI to Arbitrum, first, change your network to XAI. Then, go to the Arbitrum Bridge, and click the 🔃 button to go from Xai to Arbitrum One, first set Xai as the source. If you used this bridge before, $wCU may already be an option in the dropdown token selection menu. If not, it will be 0x89C49A3fA372920aC23ce757A029e6936c0b8e02.

Now, you can enter the amount of $CU to bridge from XAI to Arbitrum One. Once the amount of $wCU is confirmed click the “Move funds to Arbitrum One” button. This action will give you a warning about the 7-day lock-up and the fees.
Note: You will need an amount of $ETH and $XAI for gas fees when moving $wCU to Arbitrum.

To proceed with bridging, agree and press “Continue”. You should get another blockchain confirmation prompt. Confirm the transaction to proceed. You will then see the pending transaction with the 7-day lockup period. After 7 days, you can come back to the transaction history page to claim your $CU.
Note: Claiming your $CU will also prompt a blockchain transaction. This means that an amount of $ETH will be needed to complete the transaction.
Frequently Asked Questions
Will there be a deadline for the manual migration of tokens to Arbitrum?
There will be no deadline to manually migrate $UNIM to XAI. Take note that we will eventually depreciate the Rainbow Bridge but the exact date for this will be shared in advance. We don’t expect this to be for a few years.
What will happen to my tokens if I don’t bridge them over to Arbitrum?
Your tokens will stay on Polygon until you decide to bridge them over to Arbitrum.